Only nine more days until Christmas and I am finally posting part of our Holiday Home Tour. I really do not switch things up too much from year to year. I like the traditions we have in place and the memories we have created but I do like to add a few new decor items whether they are DIY projects or new to me items. Today I am sharing our dining room and my home office. With that said, sit back and enjoy our Holiday Home Tour. I am so happy you are here!
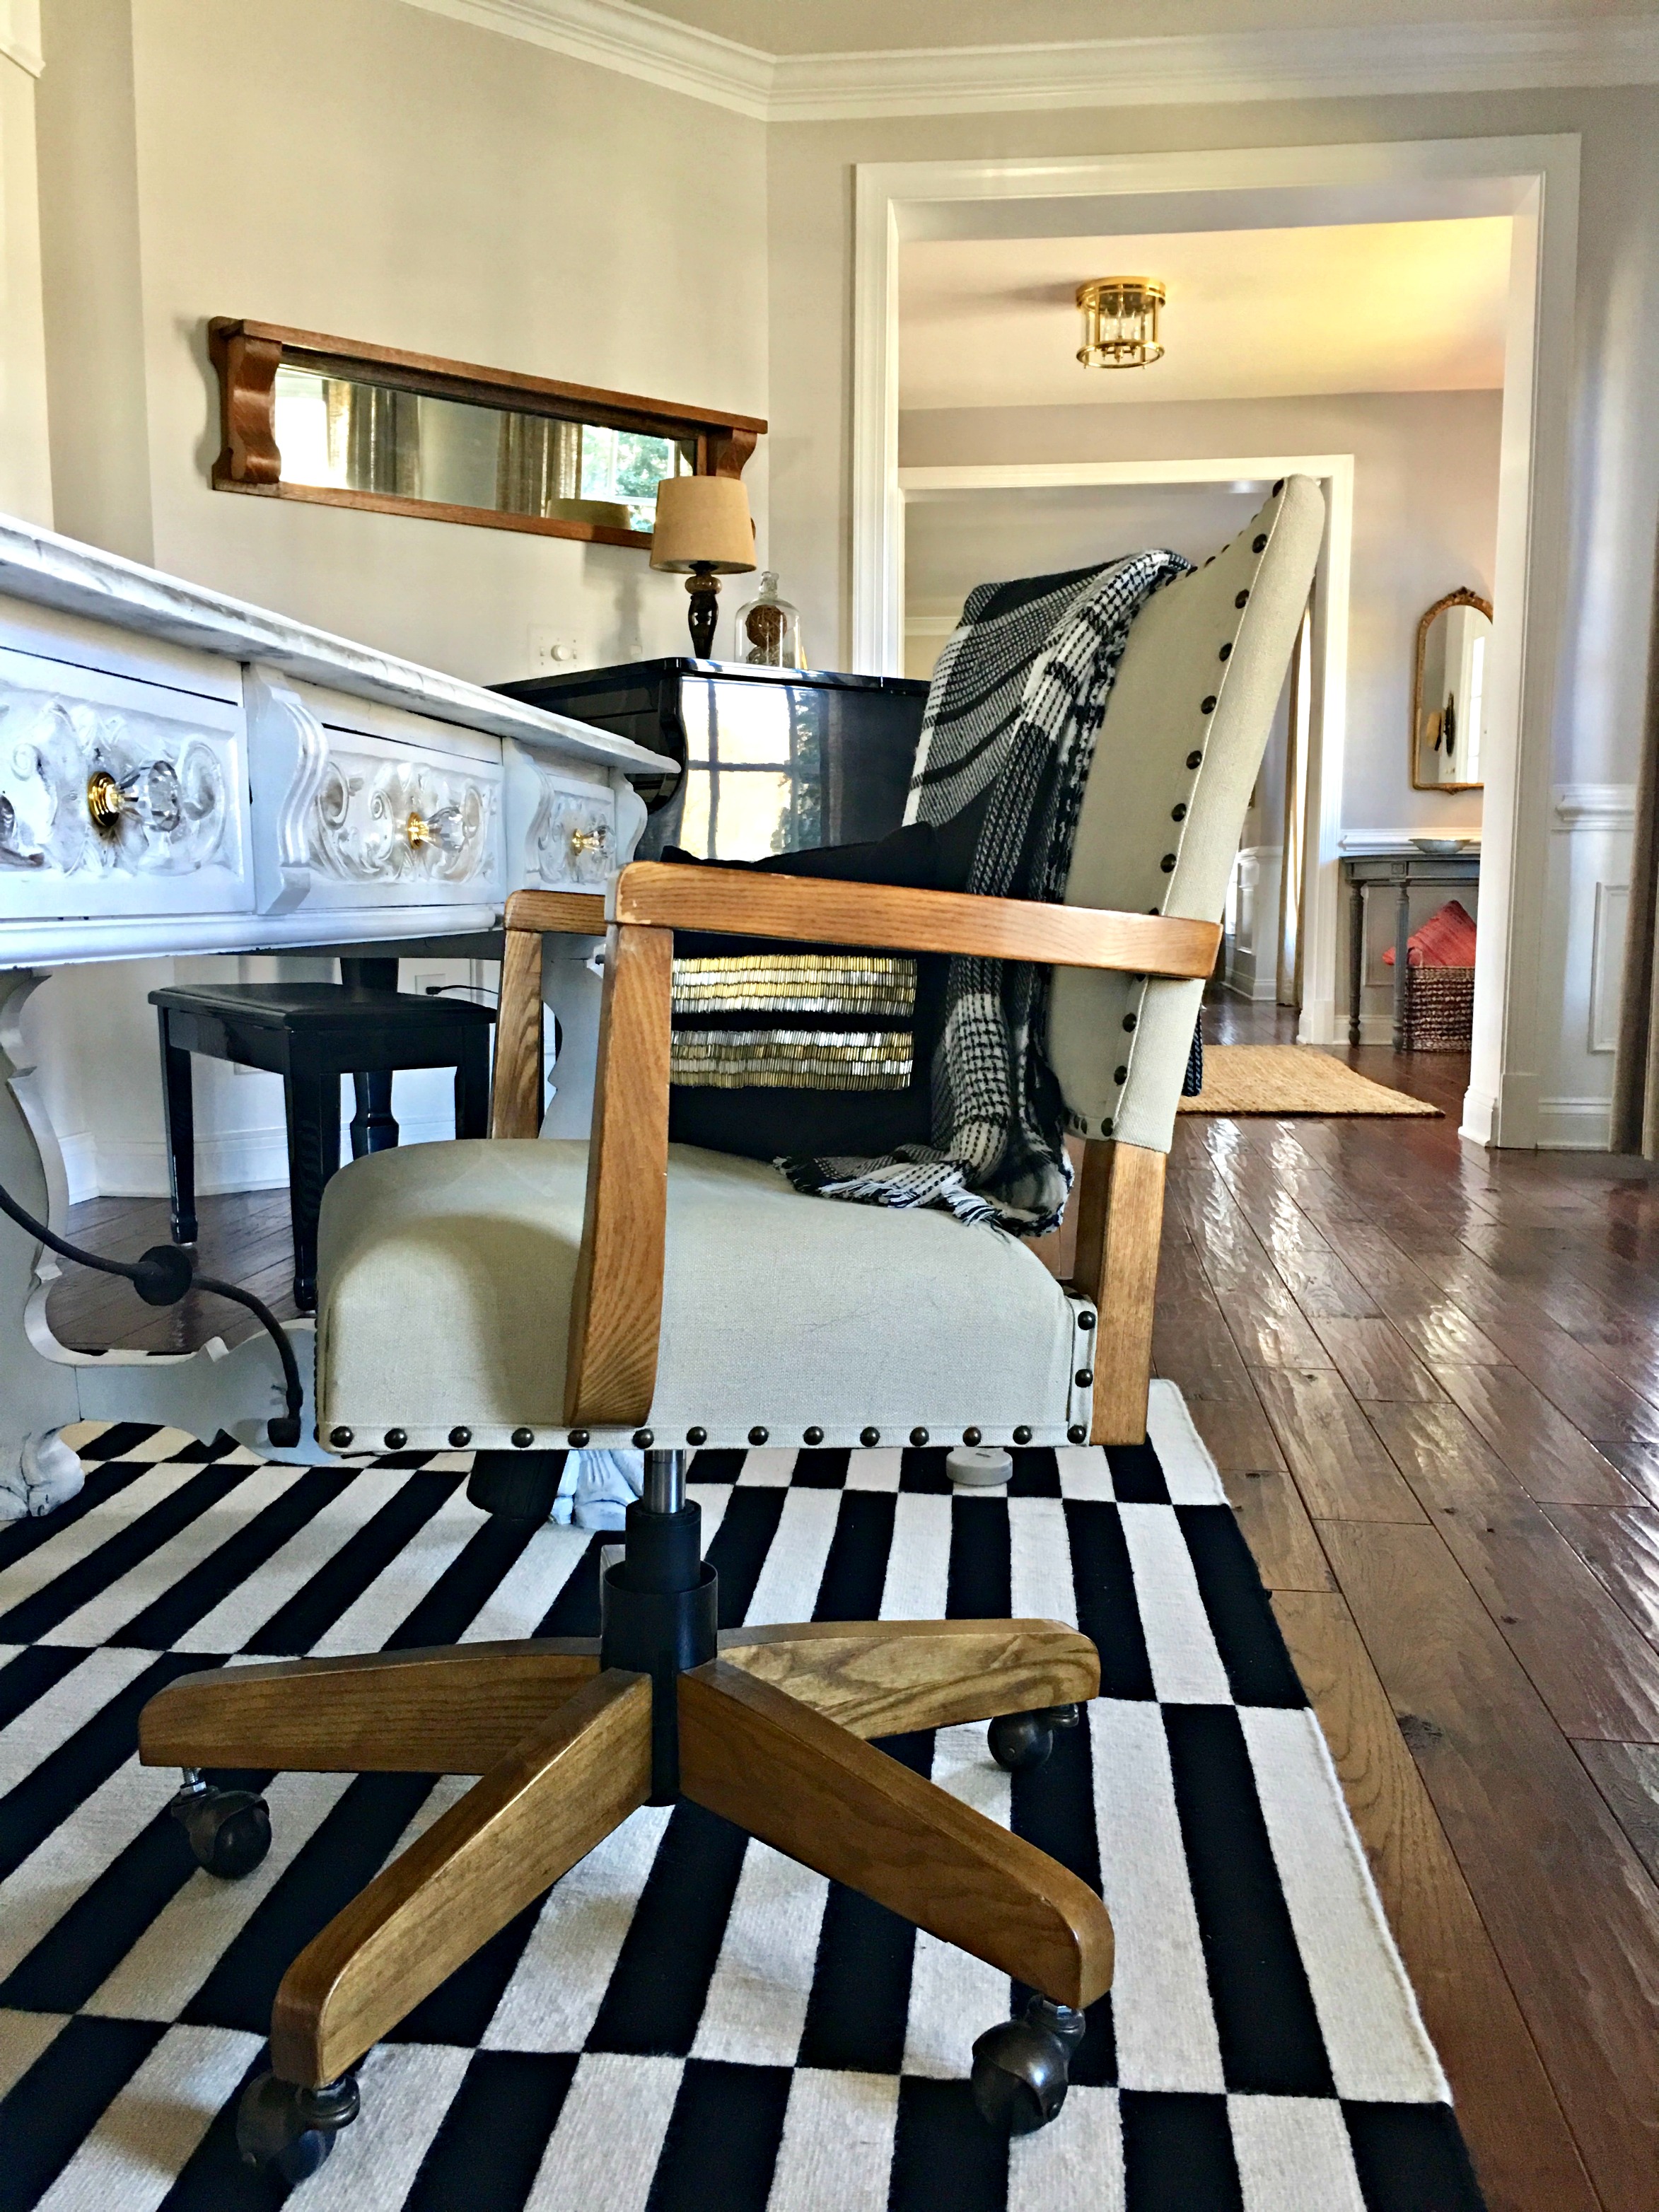
Home Office Holiday Home Tour

The sign is a new addition this year. I was inspired by Heather Tartaglia from The Morning House. I made this DIY just like all of my other signs that you can check out here and here. I like the view into the sunroom from my office.

I bought this pencil tree at Michaels a few years ago for a little over $30. I flocked it last year with this product I bought on amazon. I used the same flock on the DIY star topper that I made from twigs gathered from our yard. It was a quick and easy project that I will try to do a mini tutorial on later this week. The braided garland is also another DIY project that was inspired by Erin@CottonStem. The last new item in my office is the tree collar that I ordered from Home Depot. I really like this tree collar because it is adjustable, you can make it larger or smaller and it latches with a hook and chain.

Here’s a close up of my DIY braided garland. I picked up my chunky yarn at Michaels and used my 40% off coupon so it ended up being a little over 17$. I love this new addition to the tree! Thanks Erin for the great idea!
Dining Room Christmas Holiday Tour
O.k.we are switching gears and heading into the dining room. I added a few touches of Christmas sprinkled throughout the room. Here are a two of my favorites.

I use my bread bowl as a center piece by adding some greenery with red glass beads and some gold ornaments. I like the glimpse of the Office Christmas tree you can see peaking around the corner.

This buffet is my absolute favorite piece of furniture in the entire house! I’m a bit obsessed with it to say the least. I picked up the vintage table-cloth over the summer when I was home junking with my mama. I actually bought it in the vintage store that used to be our old apartment. You can read about that here. I remember mom used to have one like this that she used for Christmas Eve and Christmas Day dinner. I like to think that this was actually hers. I’m always on the lookout for vintage Christmas textiles. I guess it just reminds me of Christmas time from my past. I hope my boys will one day look back at our traditions and pass some of them on to their future families.
I hope you enjoyed this small little glimpse into our Holiday Home Tour. I will be back tomorrow with a mini tour of our Kitchen and Family Room and end the last home tour on Tuesday with our Sitting Room Christmas decor. Thanks for stopping by to visit us!
Until Next Time,