Stylish Revamp

Redecorating on a Budget

  • Home
  • About
  • Home Tour
  • Projects
  • Disclosure

Driftwood Christmas Tree

November 14, 2013 By stylishrevamp 9 Comments

Design your own DIY Driftwood Christmas Tree/ Easy step by step process with materials list.

I love this time of year.  The weather is finally turning cold and I love getting ready for the Holidays.  I enjoy everything about it. Although, I think my favorite part is decorating the house and I have had this project on my mind since last year…

While I was out shopping with some friends, I saw a Driftwood Christmas Tree but it was $65.00.  I knew I could make my own version of it for a lot less.  Since then I have seen them in the Restoration Hardware Catalog ($79.00-$179.00) and The Home Decorators Collection Catalog ($63.00).  So here is my version of the Driftwood Christmas Tree.

Driftwood Christmas Tree Restoration Hardware Hack

My Supply List Includes:

Cardboard Cone Shape (I got mine from Michaels)

Driftwood

Hot glue Gun and Glue Sticks

Artificial Spray Snow

Driftwood Christmas Tree

It was pretty much the same process as the Driftwood Wreath which you can find here.  Some of the trees I saw, the driftwood was placed horizontally around the tree. For my first tree, I thought placing the driftwood vertically would be easier.  So I found similair size pieces and glued them around the base like this…

DIY Driftwood Christmas Tree

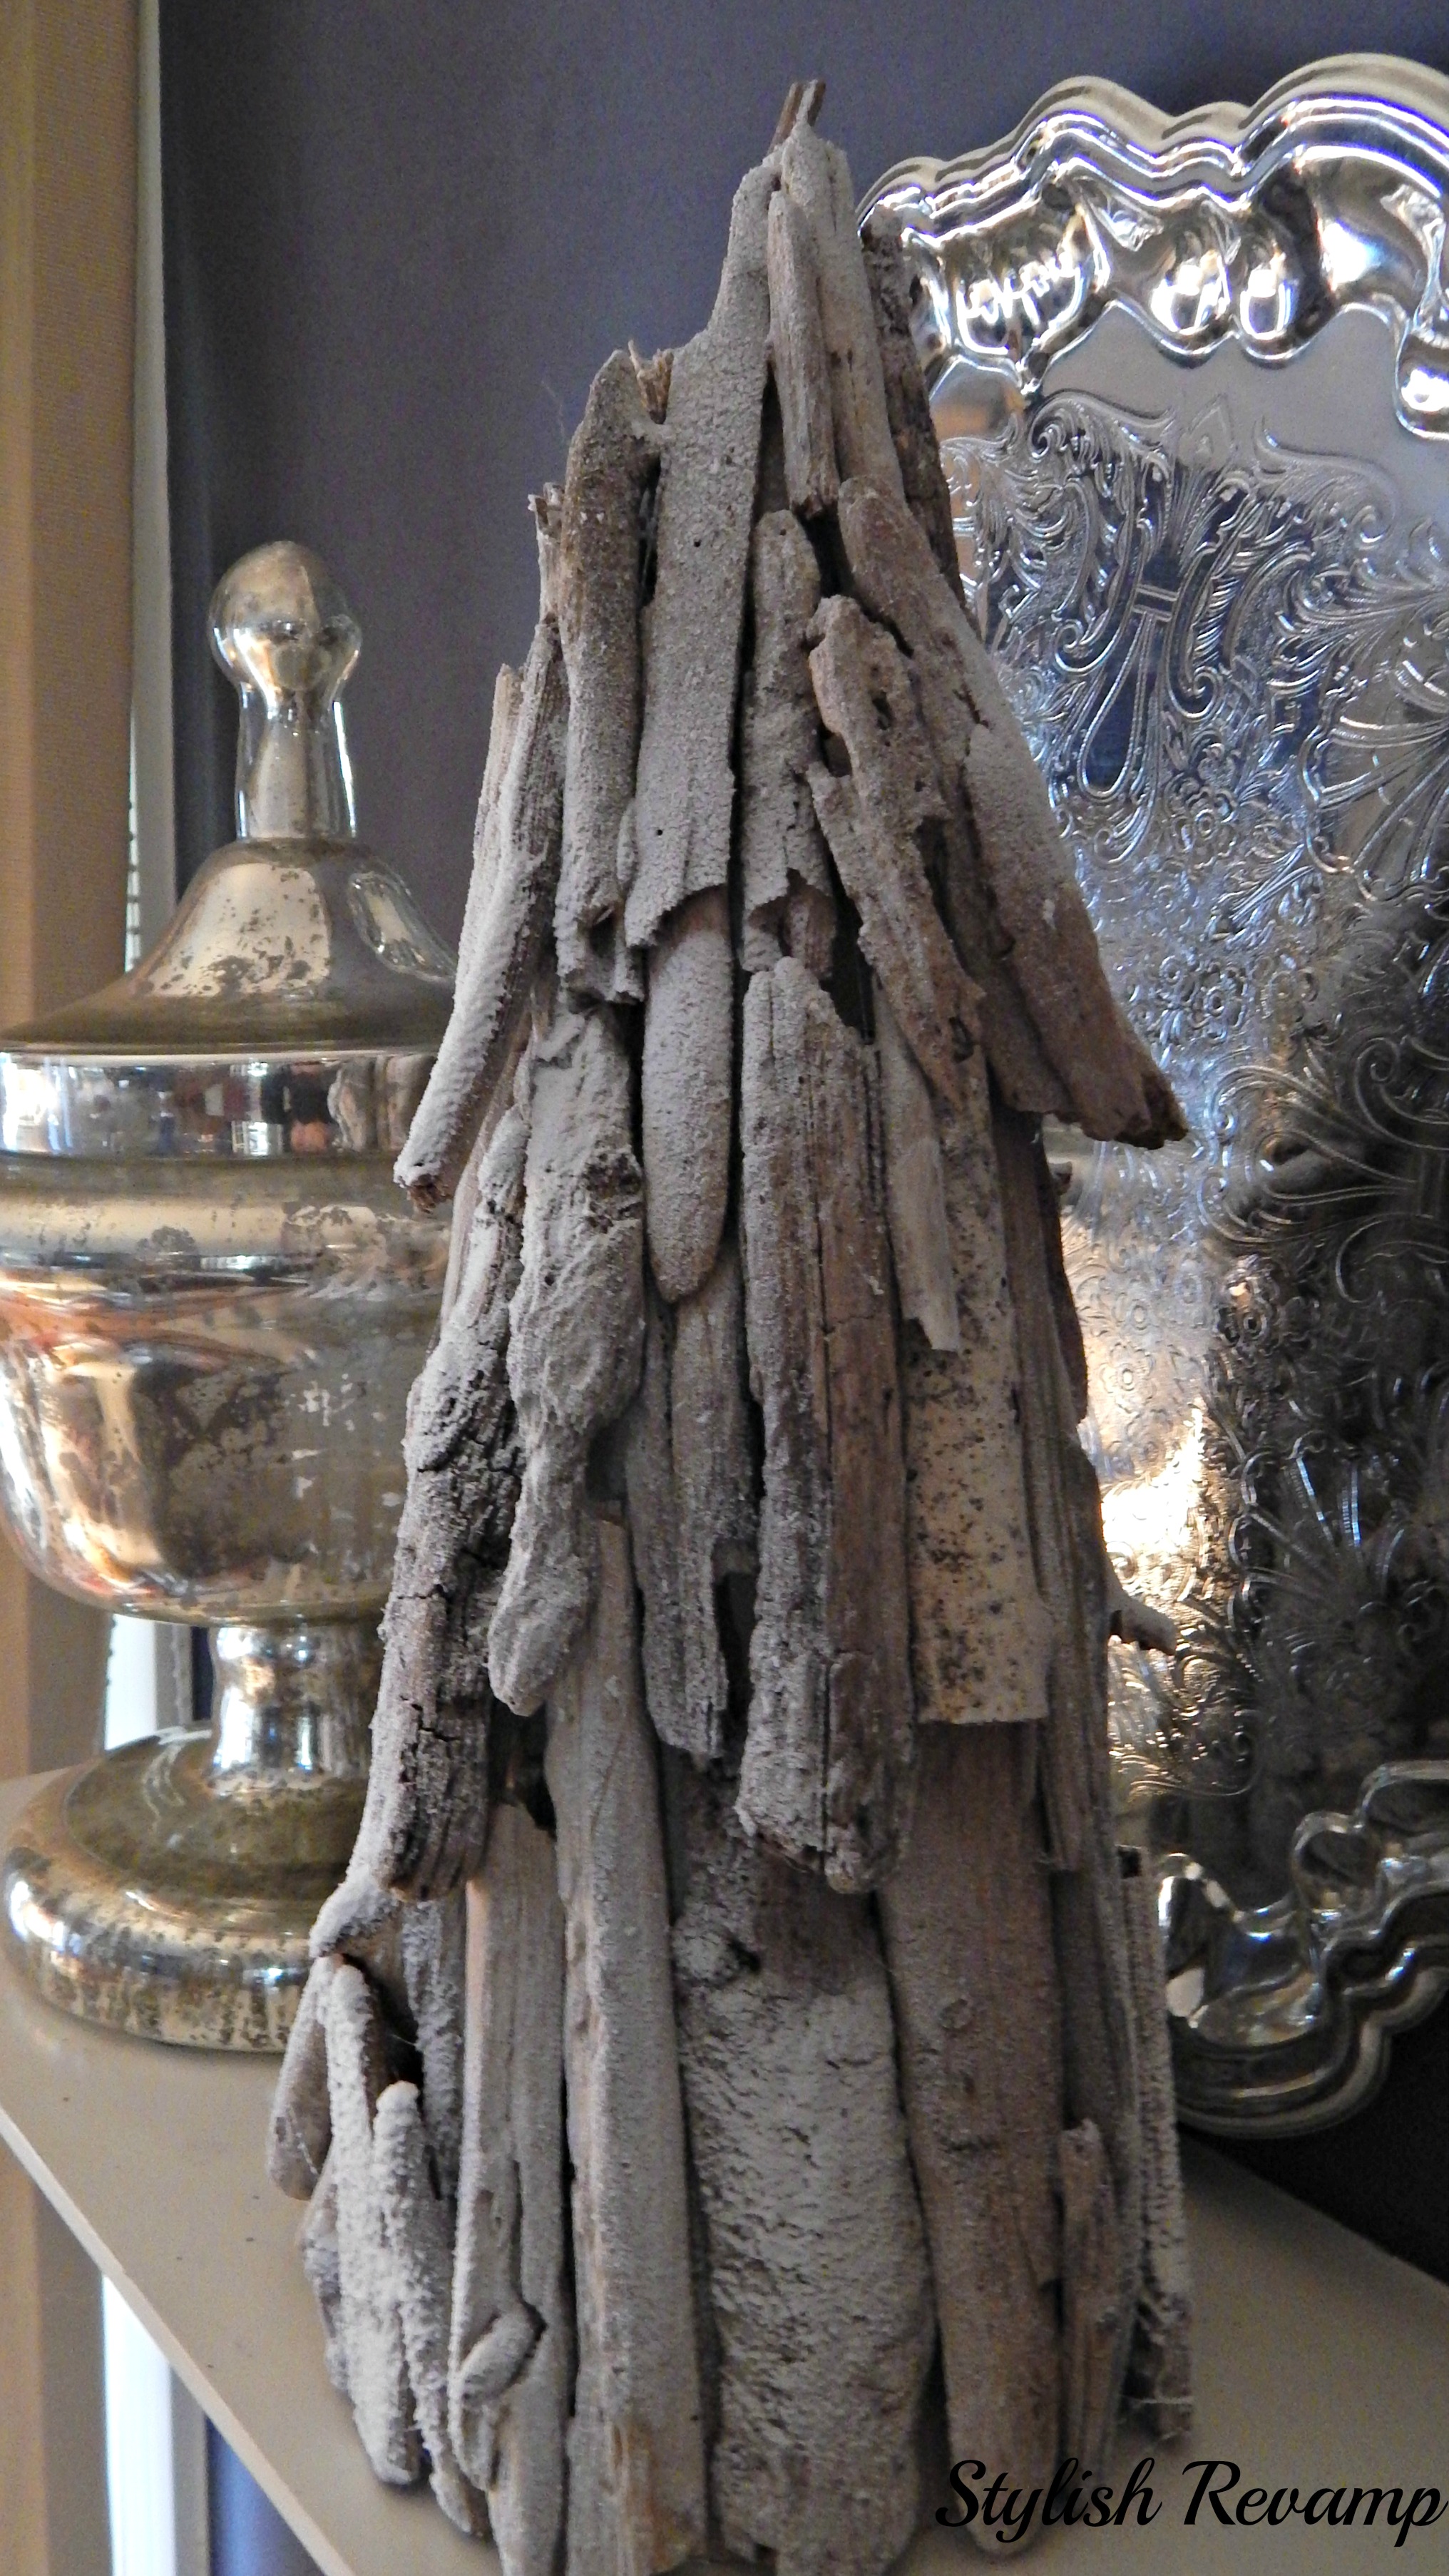
I continued adding pieces all the way around the base overlapping them as I moved up the tree.   I had to break  some of the driftwood into  smaller pieces just to get the right size.  It’s very easy to do and I like how each tree has it’s own character. This is what the tree looked like before I added the spray snow.

 DIY Driftwood Christmas Tree

           This is a picture of it with the  spray snow.  I am not sure which one I like the best… with or with out the snow?

DIY Driftwood Christmas Tree with Snow

DIY Driftwood Christmas Tree

This was such an easy and inexpensive project that anyone can do.

DIY Driftwood Christmas Tree. ..Quick easy step by step process.

I hope you enjoyed this quick and easy Driftwood Project.

Until Next Time,

SR_signature


GiveMeTheGoodsMondaynewbutton_zps121b9e82  inspiration-exchange-image-1

Share this:

  • Click to share on Pinterest (Opens in new window)
  • Click to share on Facebook (Opens in new window)
  • Click to share on Twitter (Opens in new window)

Related

Filed Under: DIY Crafts Tagged With: Christmas, Driftwood, Holidays, Tree

Sharing

Facebooktwittermail

Comments

  1. Candace @ Vintage News Junkie says

    November 18, 2013 at 1:04 am

    This is beautiful… I have been on the hunt for some driftwood for quite some time!! Where did you find all this fabulous goodness!?! I love the wreath too!!!

    Reply
    • stylishrevamp says

      November 19, 2013 at 1:27 am

      Thanks! We are lucky, the driftwood washes up onto our property. We are loving your Christmas Trees!

      Reply
  2. domain says

    September 14, 2014 at 1:20 am

    I enjoy what you guys are up too. Such clever work and coverage!

    Keep up the superb works guys I’ve added you guys to our
    blogroll.

    Reply
    • Kathy and Garrett says

      September 14, 2014 at 2:01 am

      Thank you!

      Reply
  3. Julie gilroy says

    November 9, 2016 at 5:33 am

    I love the tree and have made mine from pieces of tree and bark from the fields where we live it looks just as good thanks kathyx

    Reply
    • stylishrevamp says

      November 9, 2016 at 9:23 pm

      Hi Julie,
      I bet your tree design using bark is fabulous. What a great idea! Thanks for stopping by to check out our driftwood tree.-Kathy

      Reply
  4. wordpress says

    January 30, 2021 at 11:43 pm

    Hey there, You’ve done an incredible job. I’ll certainly
    digg it and personally recommend to my friends.
    I’m confident they will be benefited from this site.

    Reply

Trackbacks

  1. Christmas Home Tour Part 2 - Stylish Revamp says:
    December 22, 2016 at 12:23 pm

    […] A few years ago, I made my version of a Driftwood Christmas.  You can find the details here. […]

    Reply

Leave a Reply Cancel reply

Your email address will not be published. Required fields are marked *

This site uses Akismet to reduce spam. Learn how your comment data is processed.

Meet the Team

Hi, I'm Kathy! Mom to 3 boys, lover of thrift shopping and all things vintage.

Follow along with me as I revamp our home using thrifted finds!

Subscribe via Email


Visit Stylish Revamp's profile on Pinterest.

Our Favorite Posts

  • Revamping my Closet with the IKEA Pax Wardrobe
    Revamping my Closet with the IKEA Pax Wardrobe
  • IKEA BILLY Bookcase Hack
    IKEA BILLY Bookcase Hack
  • How to Make A DIY Driftwood Wreath
    How to Make A DIY Driftwood Wreath
  • My Version of Tidying Up the Pantry
    My Version of Tidying Up the Pantry
  • DIY Headboard
    DIY Headboard

Categories

  • Before and After
  • DIY Crafts
  • Fabulous Finds
  • Friday Favorites
  • Goodwill Goods
  • Home Tour
  • Projects and DIY
  • Thrift Shop
  • Thrift Shop Thursday
  • Uncategorized

Topics

Basket Chairs Chalk Paint Christmas Christmas Decor Christmas Tour Consignment Shop Consignment Shopping Desk DIY Driftwood Fall Flea Market gold Goodwill Halloween Holiday HomeGoods Home Office Home Tour IKEA Kitchen ladder Master Bedroom Michaels Milk Cans Nautical Paint paint pen Pillows pumpkins Shopping Sign spray paint thrift Thrifting thrift shop Thrift Shopping thrift shop thursday Tour Vintage White dishes wine rack Wood Wreath

Archives

Follow us on Pinterest!

Visit Stylish Revamp's profile on Pinterest.

Follow us on Twitter!

Tweets by @StylishRevamp

Follow us on Instagram

Screen Shot 2018-09-16 at 8.50.53 PM

Like us on Facebook!

Like us on Facebook!

Copyright © 2025 · Chic Pro Theme On Genesis Framework · WordPress · Log in